Posted April 10, 2018
How-to Build Simple Closet Shelves
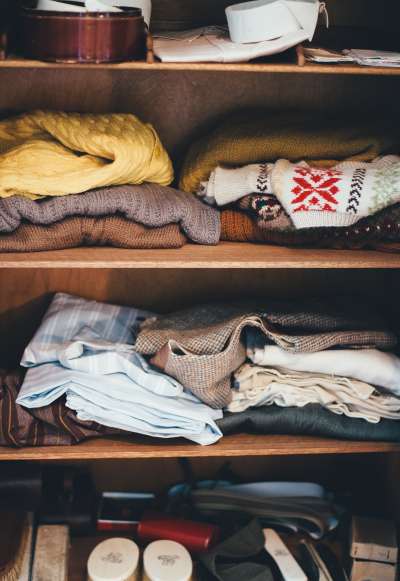
Do you have a closet at home that is useless for storage? Maybe it’s a great size, but has no real storage shelves. In this post, I want to help you build your own shelves, the easy way.
- Gather materials – You aren’t going to need much to make these simple shelves. First of all, I recommend birch or maple hardwood plywood at 3/4″ for all your shelves. This is stronger and easier to deal with than MDF and should not bow as long as your shelves aren’t too long. You will need some 1″x3″ simple pine boards as well as some 1″x2″ finished pine boards. You will also need some finish nails and/or screws.
- Find the Studs – Using a stud finder, mark all the studs at the heights where you want to install shelves.
- Cut the ledger strips – Cut your 1″x3″ strips along three sides of the closet in the size of the shelf you want.
- Mount the ledger strips – Attach your 1″x3″ strips to the wall at the same, level height with nails or screws.
- Cut the shelves – Cut the plywood in the size of the shelf you want.
- Attach the shelves – Nail the shelf to the 1″x3″ supports
- Mount the trim – Cut the 1″x2″ finish boards the width of the front of the shelf and nail up to cover the bare end of plywood.
- Final prep – Fill all nail holes, sand the filler and paint.
- You are done!
If all this sounds to complicated for you and you would rather have someone do this for your or you need some help, please call or email me. I would love to help you out, neighbor.