
Creating a Drywall Patch
If you live in your home long enough, chances are you will end up with a hole in your drywall. This is something that is relatively easy to fix and doesn’t require any specialty tools or skills. So let’s help you create a drywall patch and get your wall looking brand new.
First, we need to determine how large an area we need to patch. We are going to break the hole sizes down into three groups: small, medium and large.
Small Holes (less than 2″ diameter):
For nail, screw and other really small holes we can just spackle right over them with a lightweight spackle, then sand and paint. For the larger holes up to 2″, I recommend using a patch kit like this. You just stick it to the wall, spackle over it, sand and paint.
Medium Holes (2″ diameter to 8″ diameter):
For these larger holes, standard patch kits are going to give less than desirable results. Read on below in this article and I will teach you my favorite technique for seamless patches for this size hole.
Large Holes (greater than 8″ diameter):
These large holes require cutting the drywall back to the studs so you can properly secure a large piece of drywall. This is a more advanced repair and unless you have drywall experience is probably best left to the professionals. Send me a message today if you have a large drywall patch you need help with.
California Drywall Patch
So let’s talk about patching those medium sized holes. These are the ones too large for a patch kit but still easily fixed by a DIY’er. My favorite technique is call the “California Drywall patch.” This simple but effective patch will be solidly attached to your wall without having to cut out a huge hole. Let’s see the steps below:
Supplies:
- 2′ x 1/2″ x 1/2″ Drywall Board
- All Purpose Drywall Compound
- Primer/Sealer
- Paint in existing wall color
- (Optional) Drywall Texture and Knockdown Knife
- Pencil
- Tape Measure
- Utility Knife
- Jab Saw
- 6″ Drywall Knife
- Paint brush or roller
- 150 Grit Sandpaper
- (Optional) 8″ or 10″ Drywall Knife
- (Optional) Shop Vac
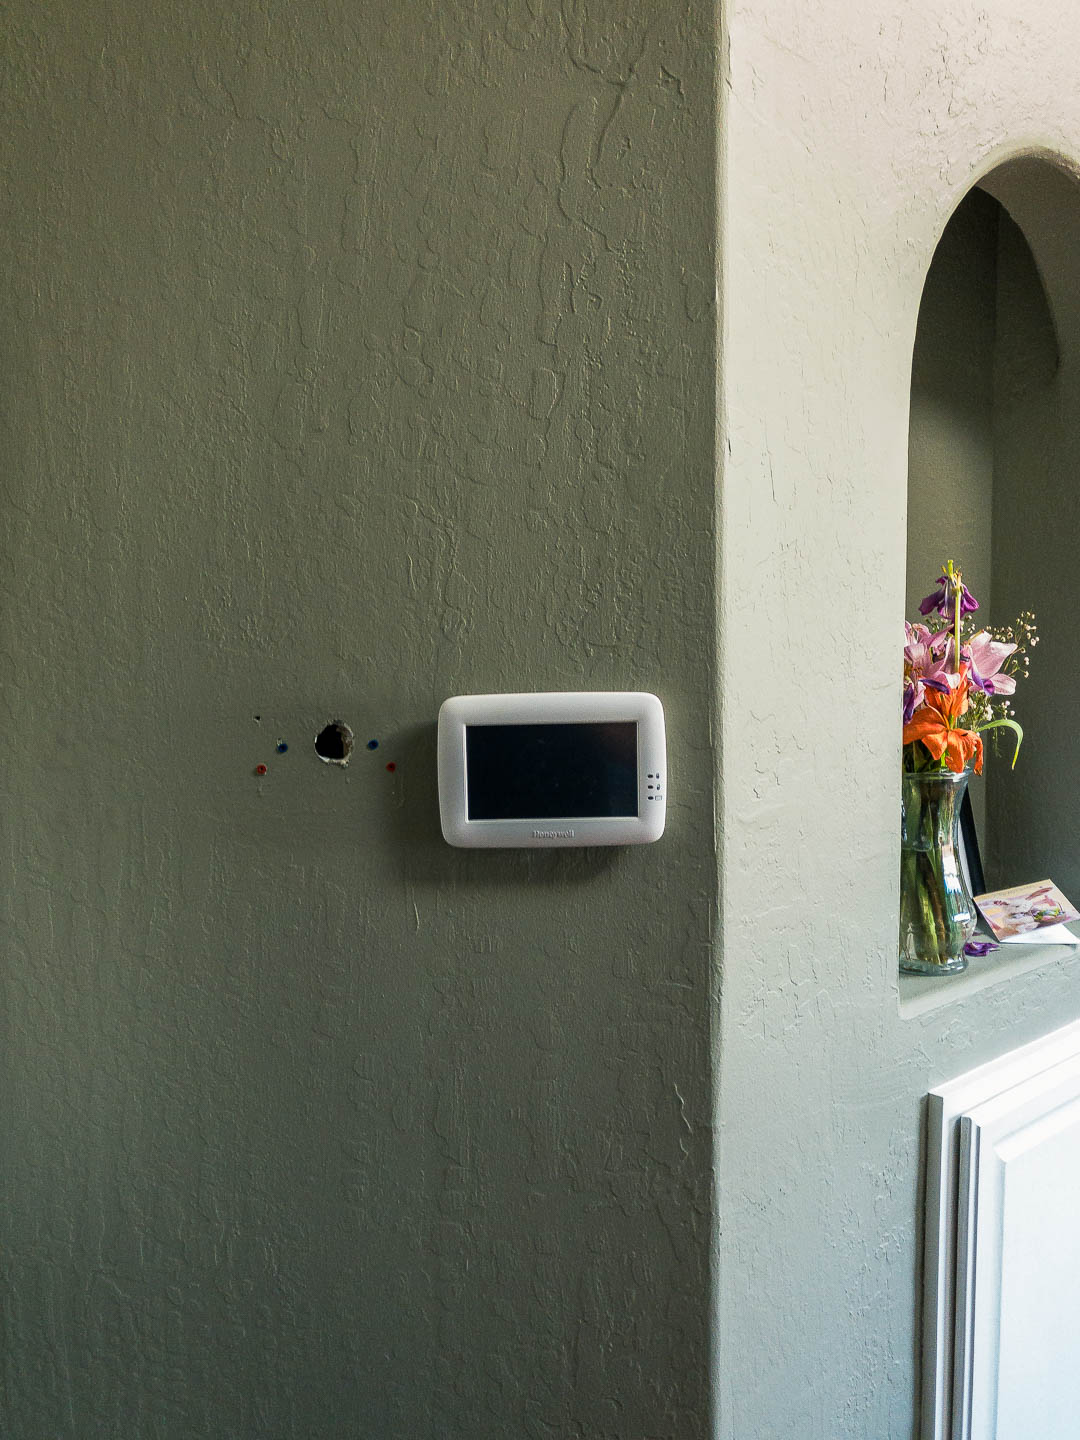
Here we start with an approximate 1.5″ diameter hole. Now we could have used a patch kit for this, but because there were also a number of smaller holes surrounding it that we wanted to repair. I opted to go with one large patch to fix them all.
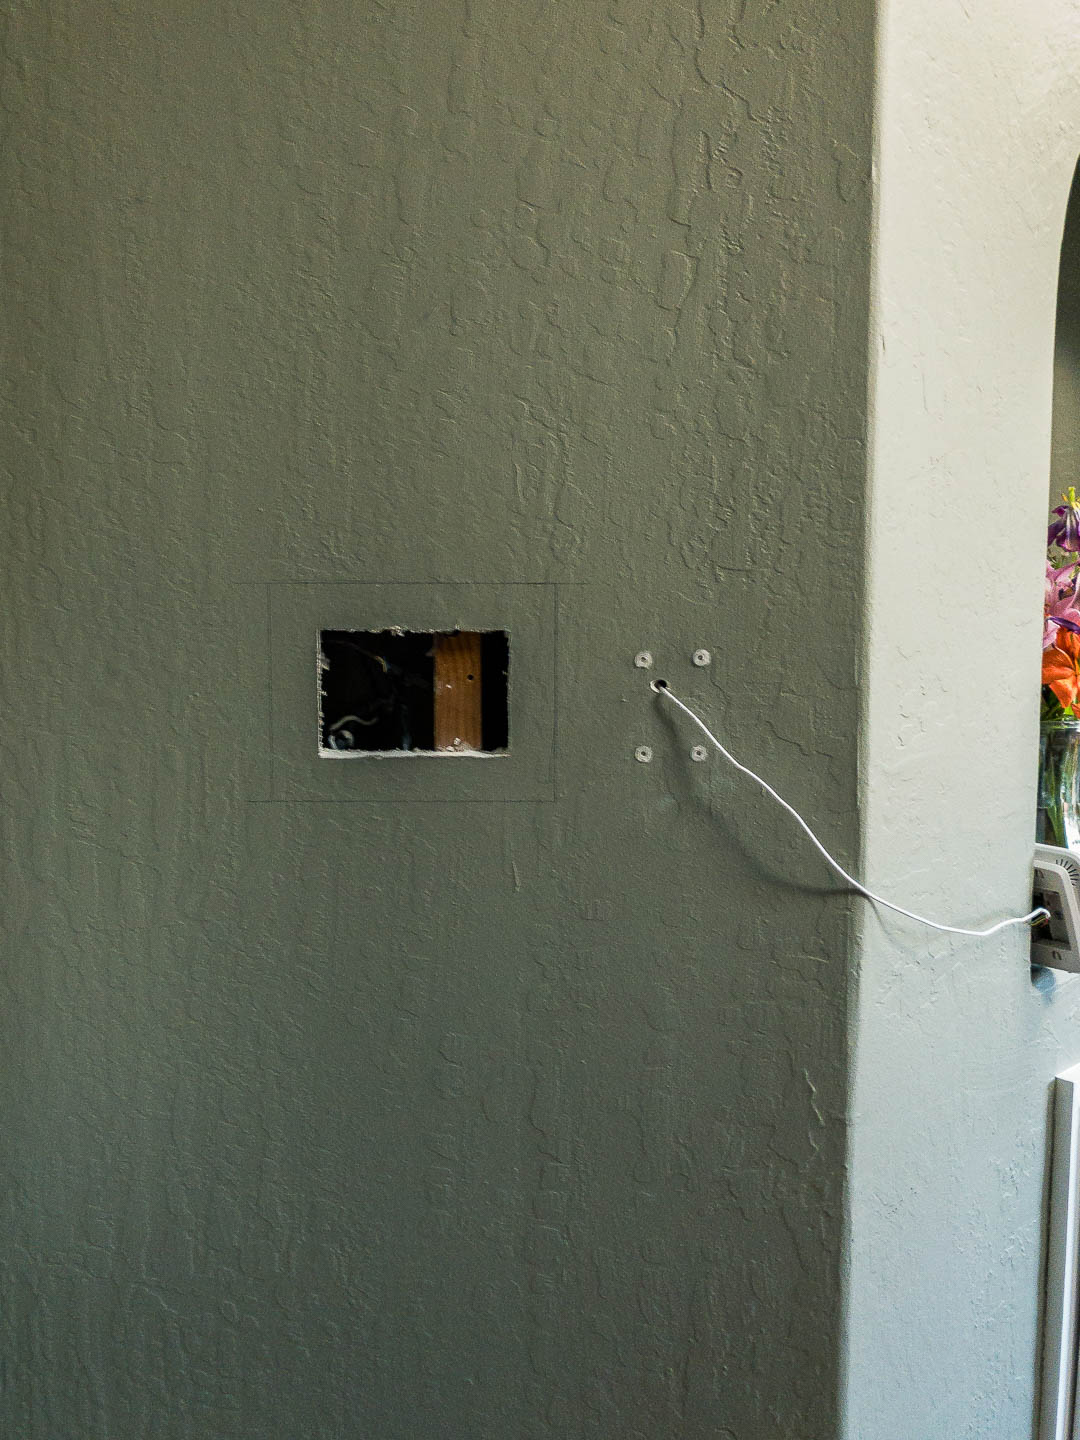
- First thing we do is enlarge and make the hole a square or rectangle. We do this using a jab saw. This saw allows us to cut drywall without having to drill any holes. Once we get a nice square hole, we are ready to move onto the next step.
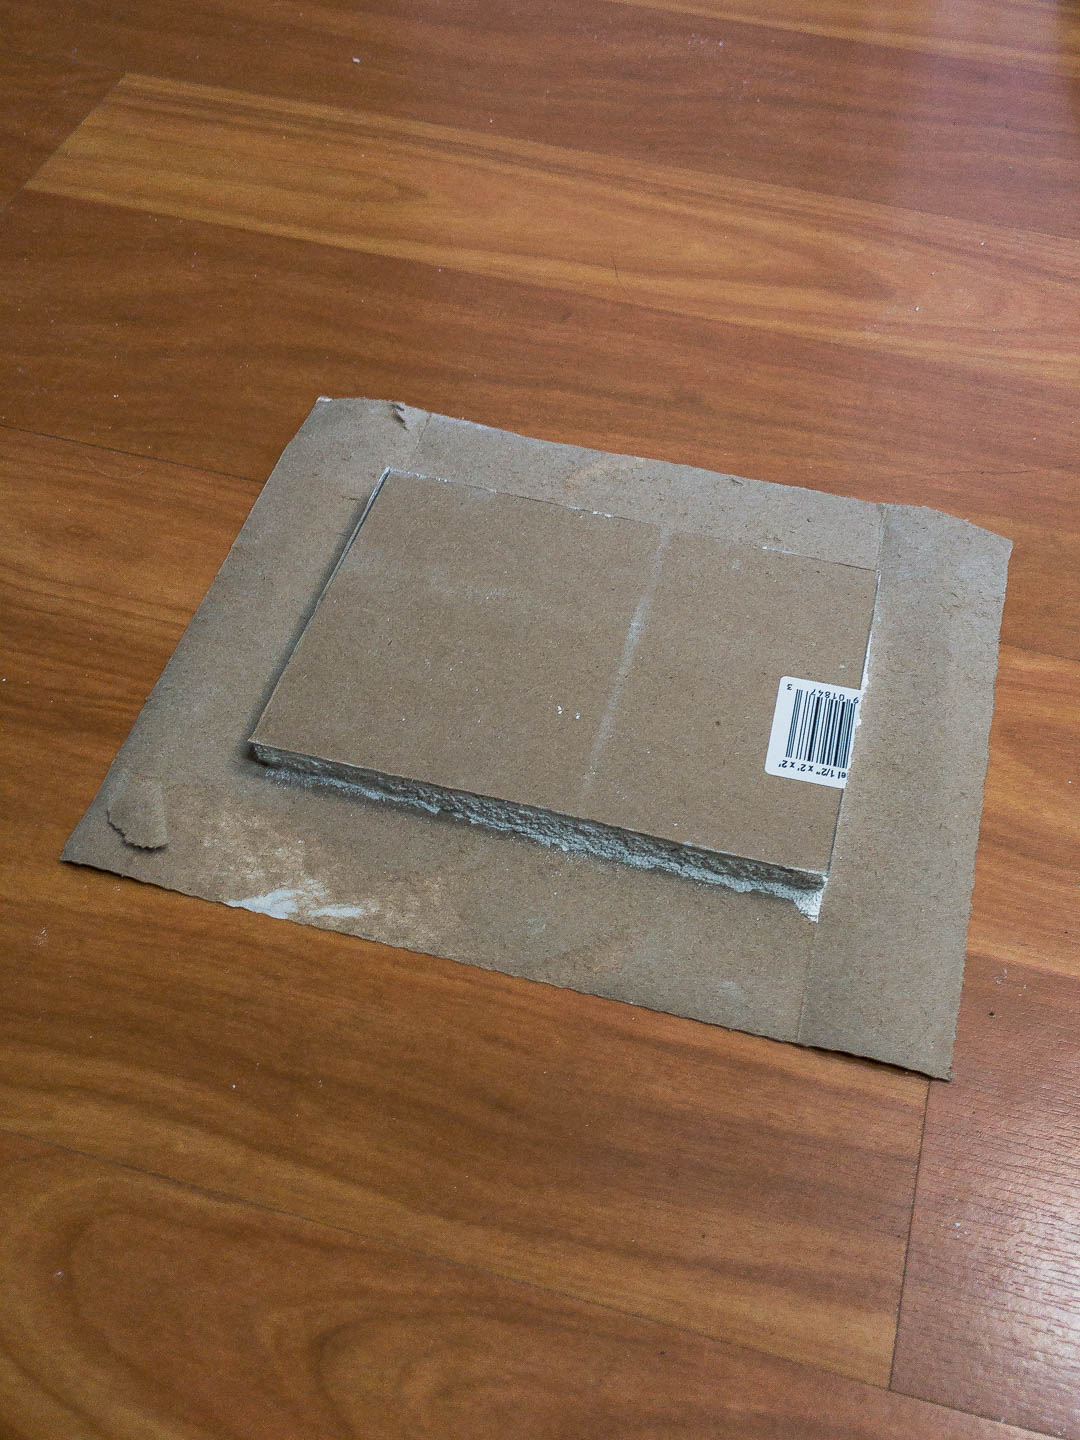
- Next, we cut out a piece of drywall 3″ wider and 3″ taller than the hole we just cut out of our wall.
- Now, on the backside(brown paper) of the drywall patch we just cut, we mark lines 1 1/2″ in from the edge, all the way around. Using a sharp utility line, we score the drywall along those lines. Be careful NOT to cut all the way though the drywall, just cutting the back paper and the gypsum. Carefully break the drywall along these score lines and remove the back paper and gypsum leaving the front paper intact.
- Now we are going to do something similar to our hole, to prepare it for the patch. Mark lines 1 1/2″ from the edge of the hole all the way around. Using a sharp utility knife, score the along these lines trying to just cut through the top layer of paper and not the rest of the drywall. Now remove the paper from around our hole on the line we cut. You may need a putty knife to help you peal up and remove the paper. Once this is done you can test fit the patch in the wall, and enlarge the hole as necessary to get the patch to fit snuggly.
- Now spread all purpose drywall compound around the hole. Put the patch into the hole and using a 6″ drywall blade, push the paper into the mud, smoothing the mud out from behind the paper leaving only a little behind.
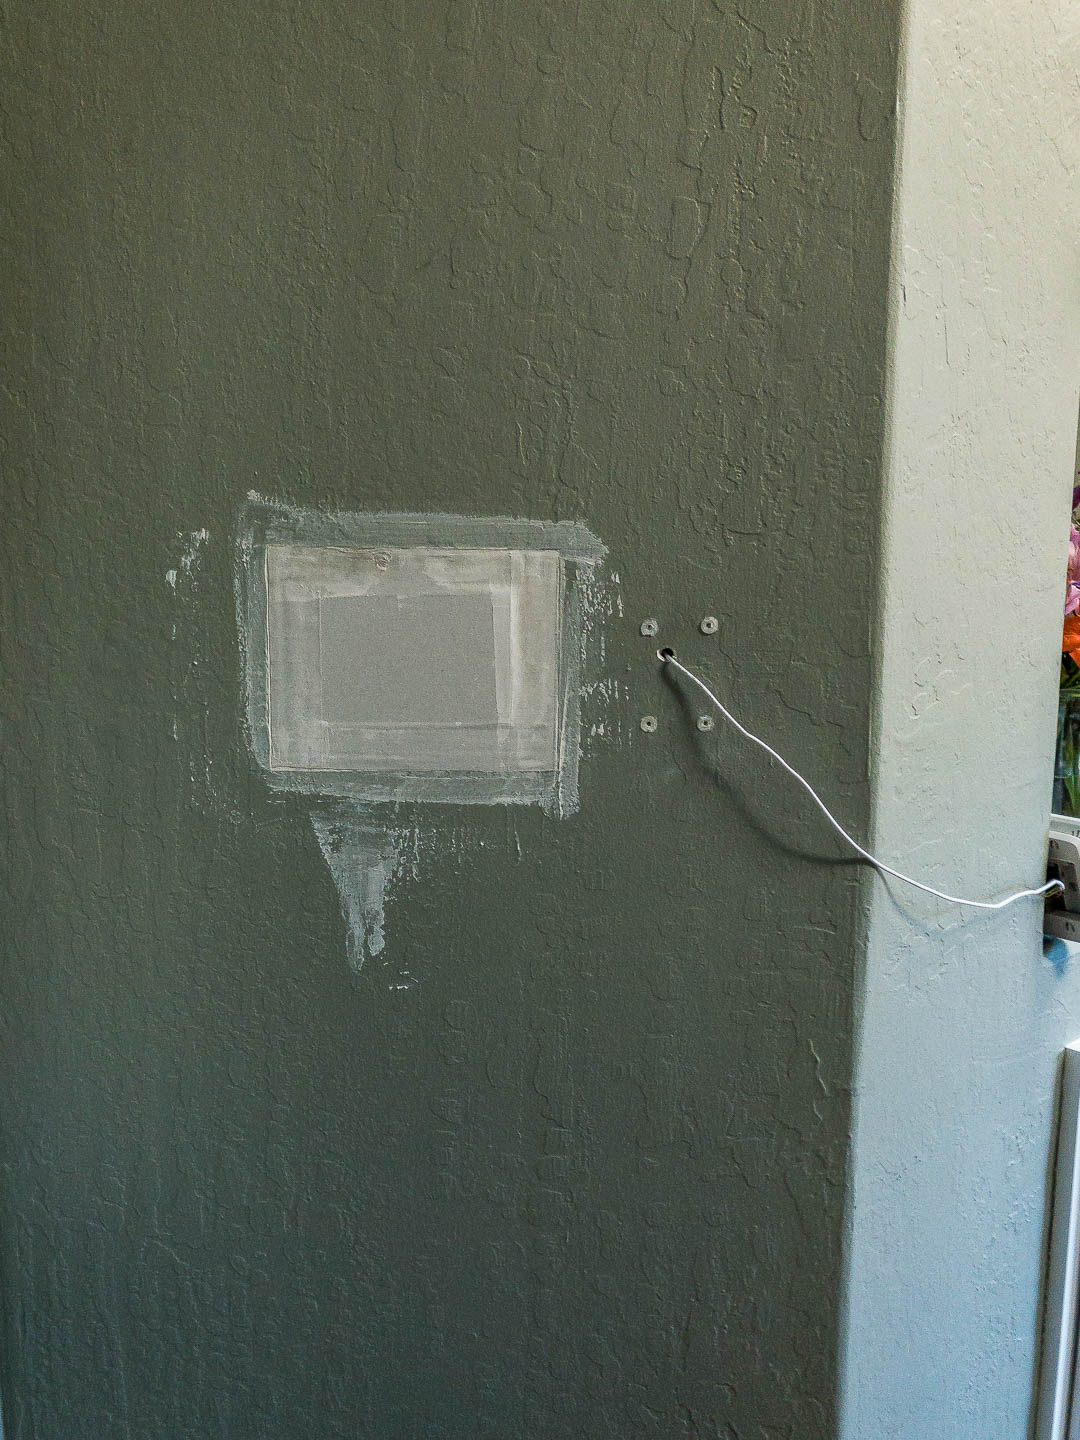
- After the mud has dried, spread out more drywall compound in a smooth layer over the entire patch. Feather it out at least 6-8″ beyond the patch. You may need to do two thin layers to get the whole patch covered nicely and it feathered out over the wall.
- After allowing the mud to dry, sand the entire area with 150 grit sandpaper. Careful, as drywall dust is very fine and will get everywhere. I recommend using a shop vac to suck up the dust as you sand to make cleanup easier.
- (Optional Step) If your wall is textured, which most are, you can match the texture on the wall to make the patch totally disappear. I used Homax Knockdown Texture and Knockdown Knife following the directions on the can to do a pretty good job of matching the existing texture on my wall. They have different products for different types of texture, so make sure to choose the one that best matches your walls.
- I recommend using a sealing primer first to give a better finish when applying paint. I use Bulls Eye 1-2-3 water based primer/sealer.
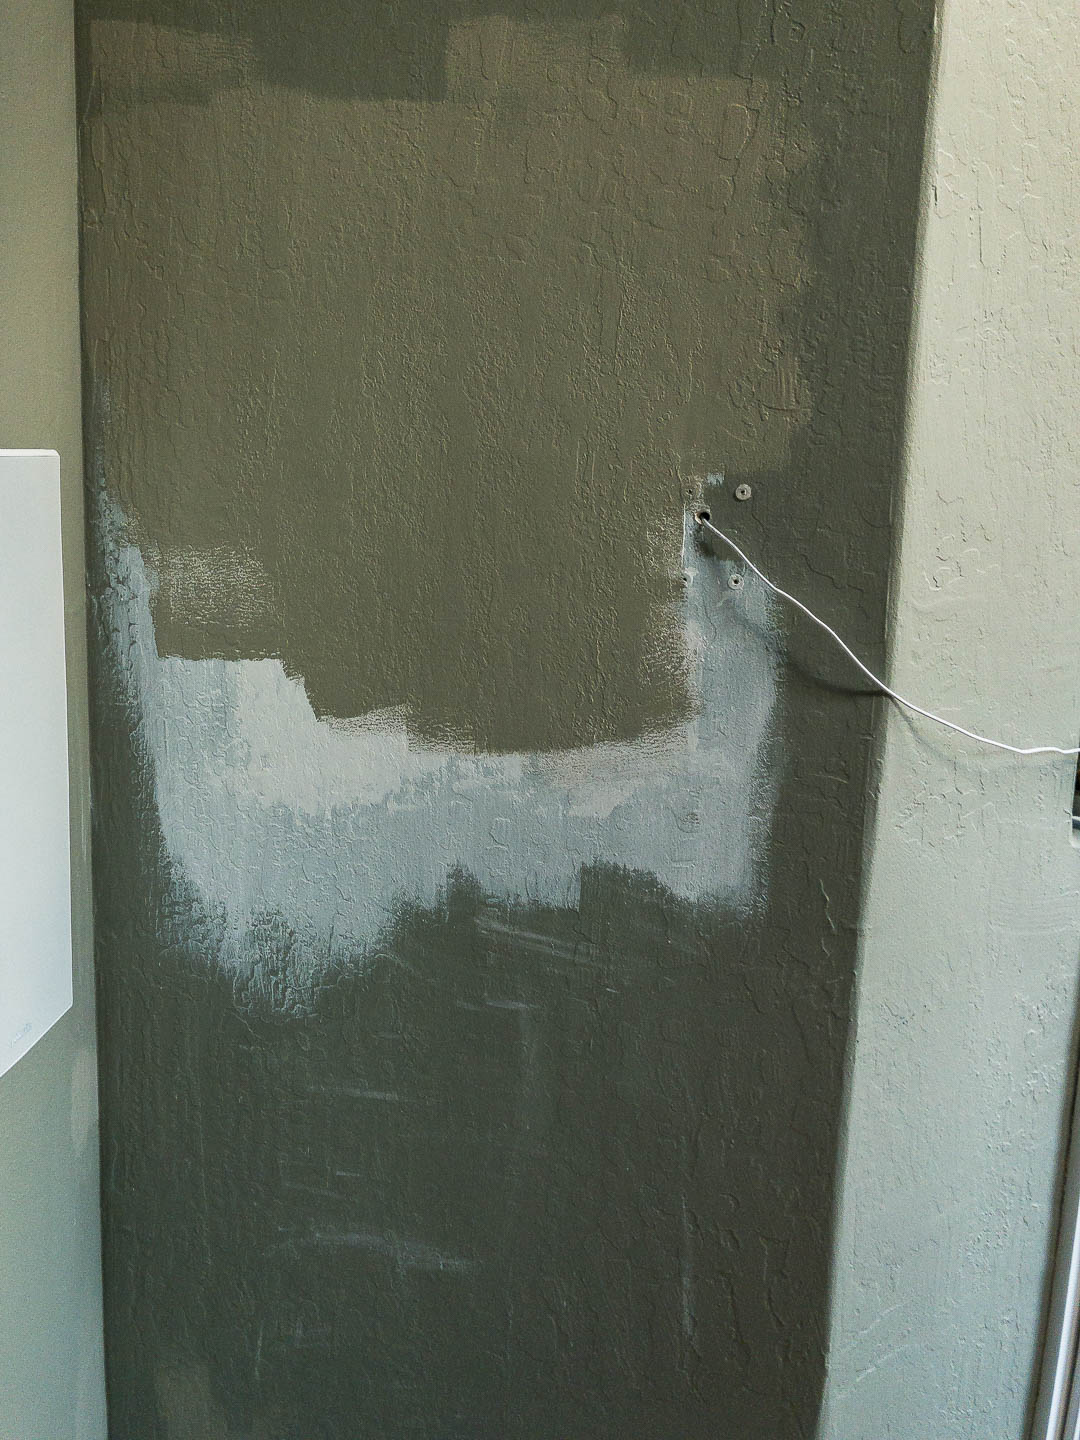
- Then paint to match your existing wall and you are done!
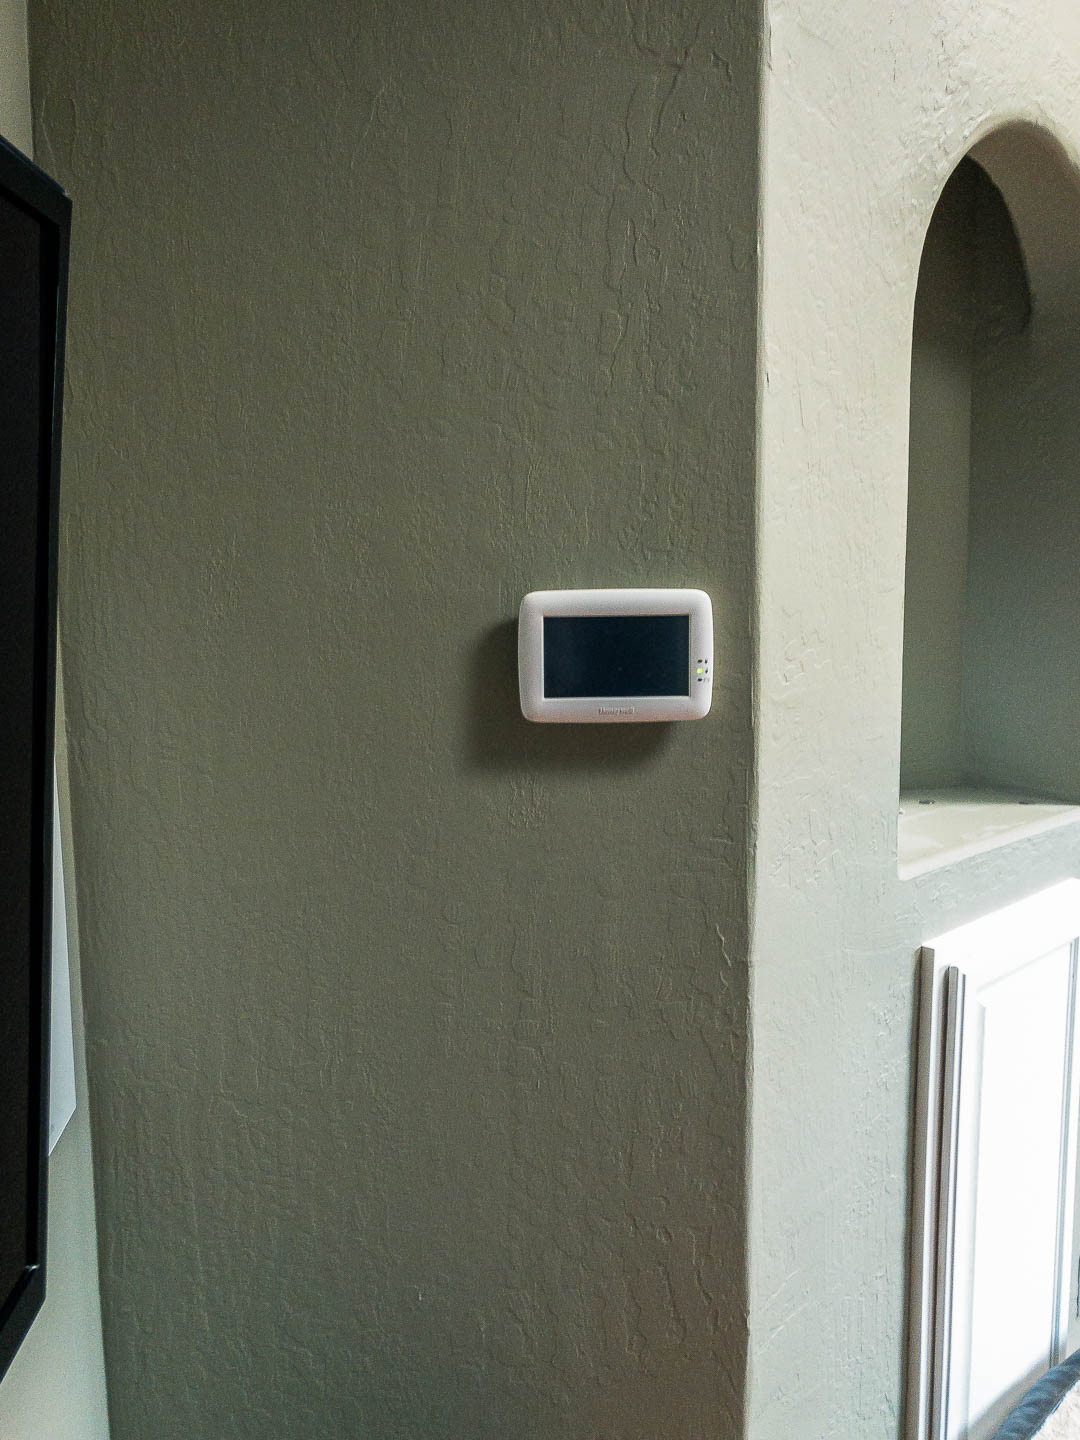
Congratulations, you have just patched your wall with professional results. If you have any questions or if you aren’t comfortable doing this yourself, contact me today and we can get your drywall fixed.